Group accounts and set routes and areas
On this page
An account group is a name you give to a set of accounts: a delivery route, a class of suppliers, “Duties & taxes”. Every account can be in one group, can have a representative (the person who looks after it) and has an area. The reports that group accounts, such as the Grouped Balance Sheet and the outstanding statements by account group and by representative, use these three. A/c Grouping sets them for many accounts at once, so you do not open each account.
You make the groups first, because an account can only be put in a group that exists.
Make the account groups
Press Alt+2 for Setup Accounts and A for Head of Accounts. In the Show box choose A/c groups. The screen is now called A/c Groups, and lists every group with its type and schedule number.
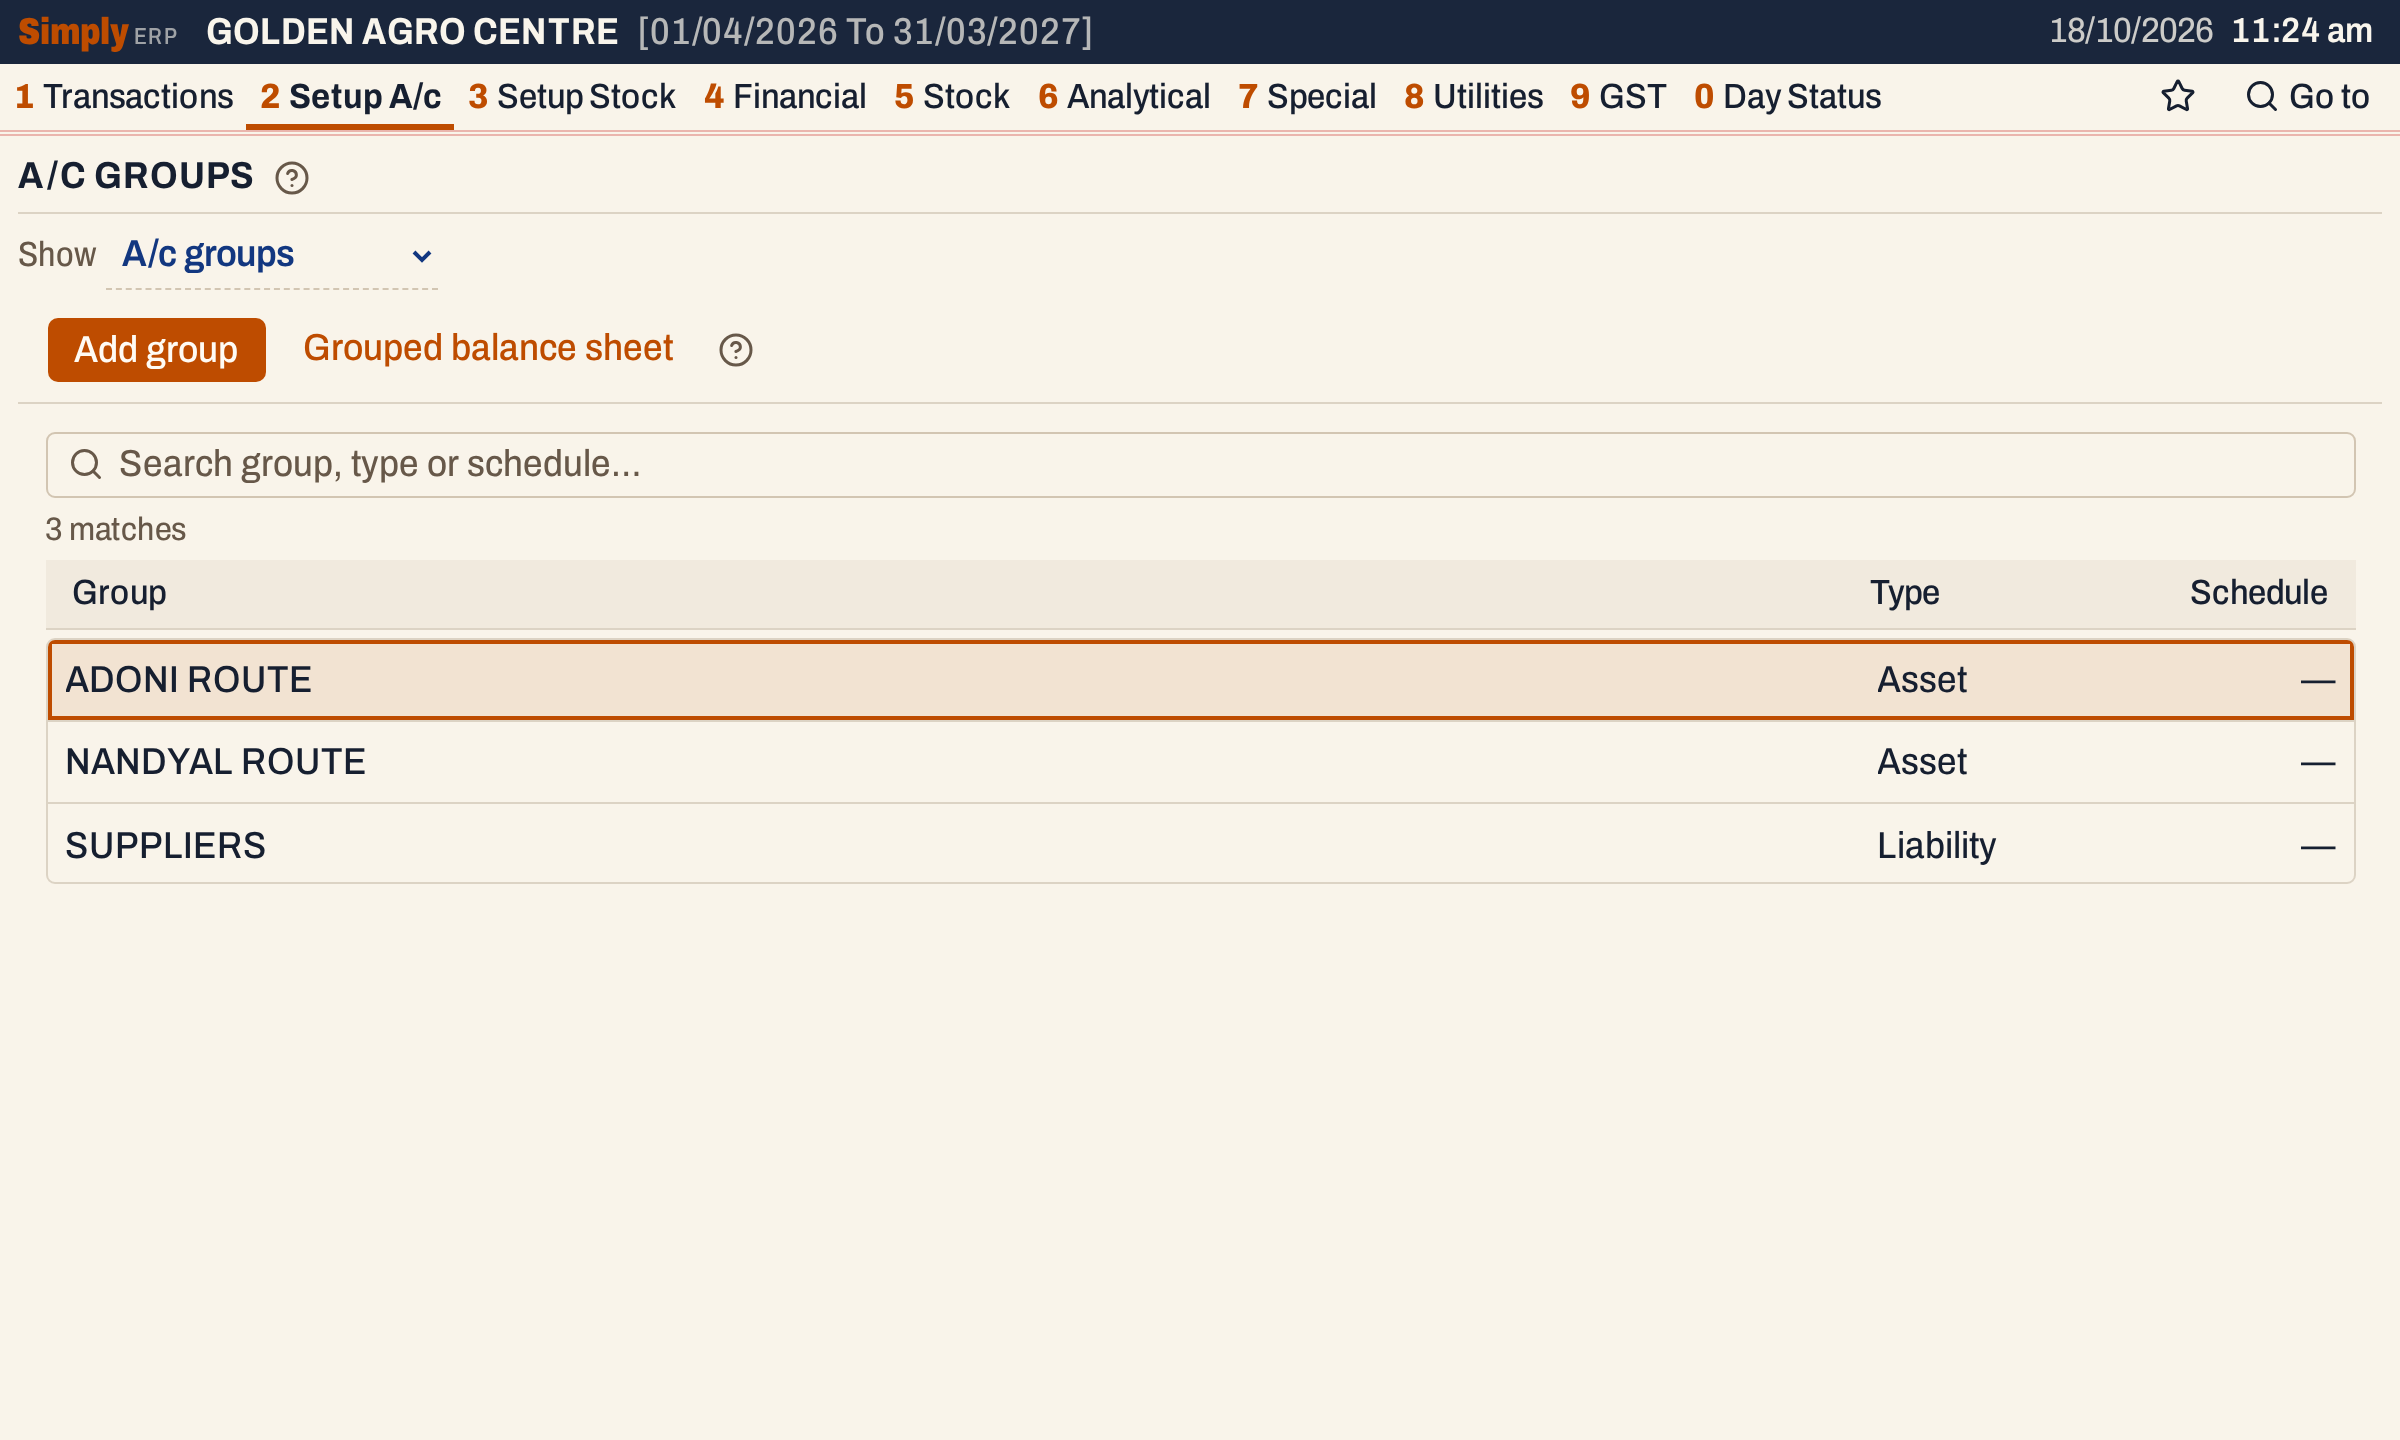 The groups of the showcase books. Type in the search box to find a group by its name, type or schedule.
Click Add group. A form opens at the side:
- Group name: the name accounts will show, such as KURNOOL ROUTE.
- Group type: Unspecified, Asset, Liability, Income or Expense.
- Schedule: a number from 1 to 99 that arranges the group under a schedule of the final accounts; 0 means no schedule. The Balance Sheet (Grouped) lists its groups in the order of their schedule numbers.
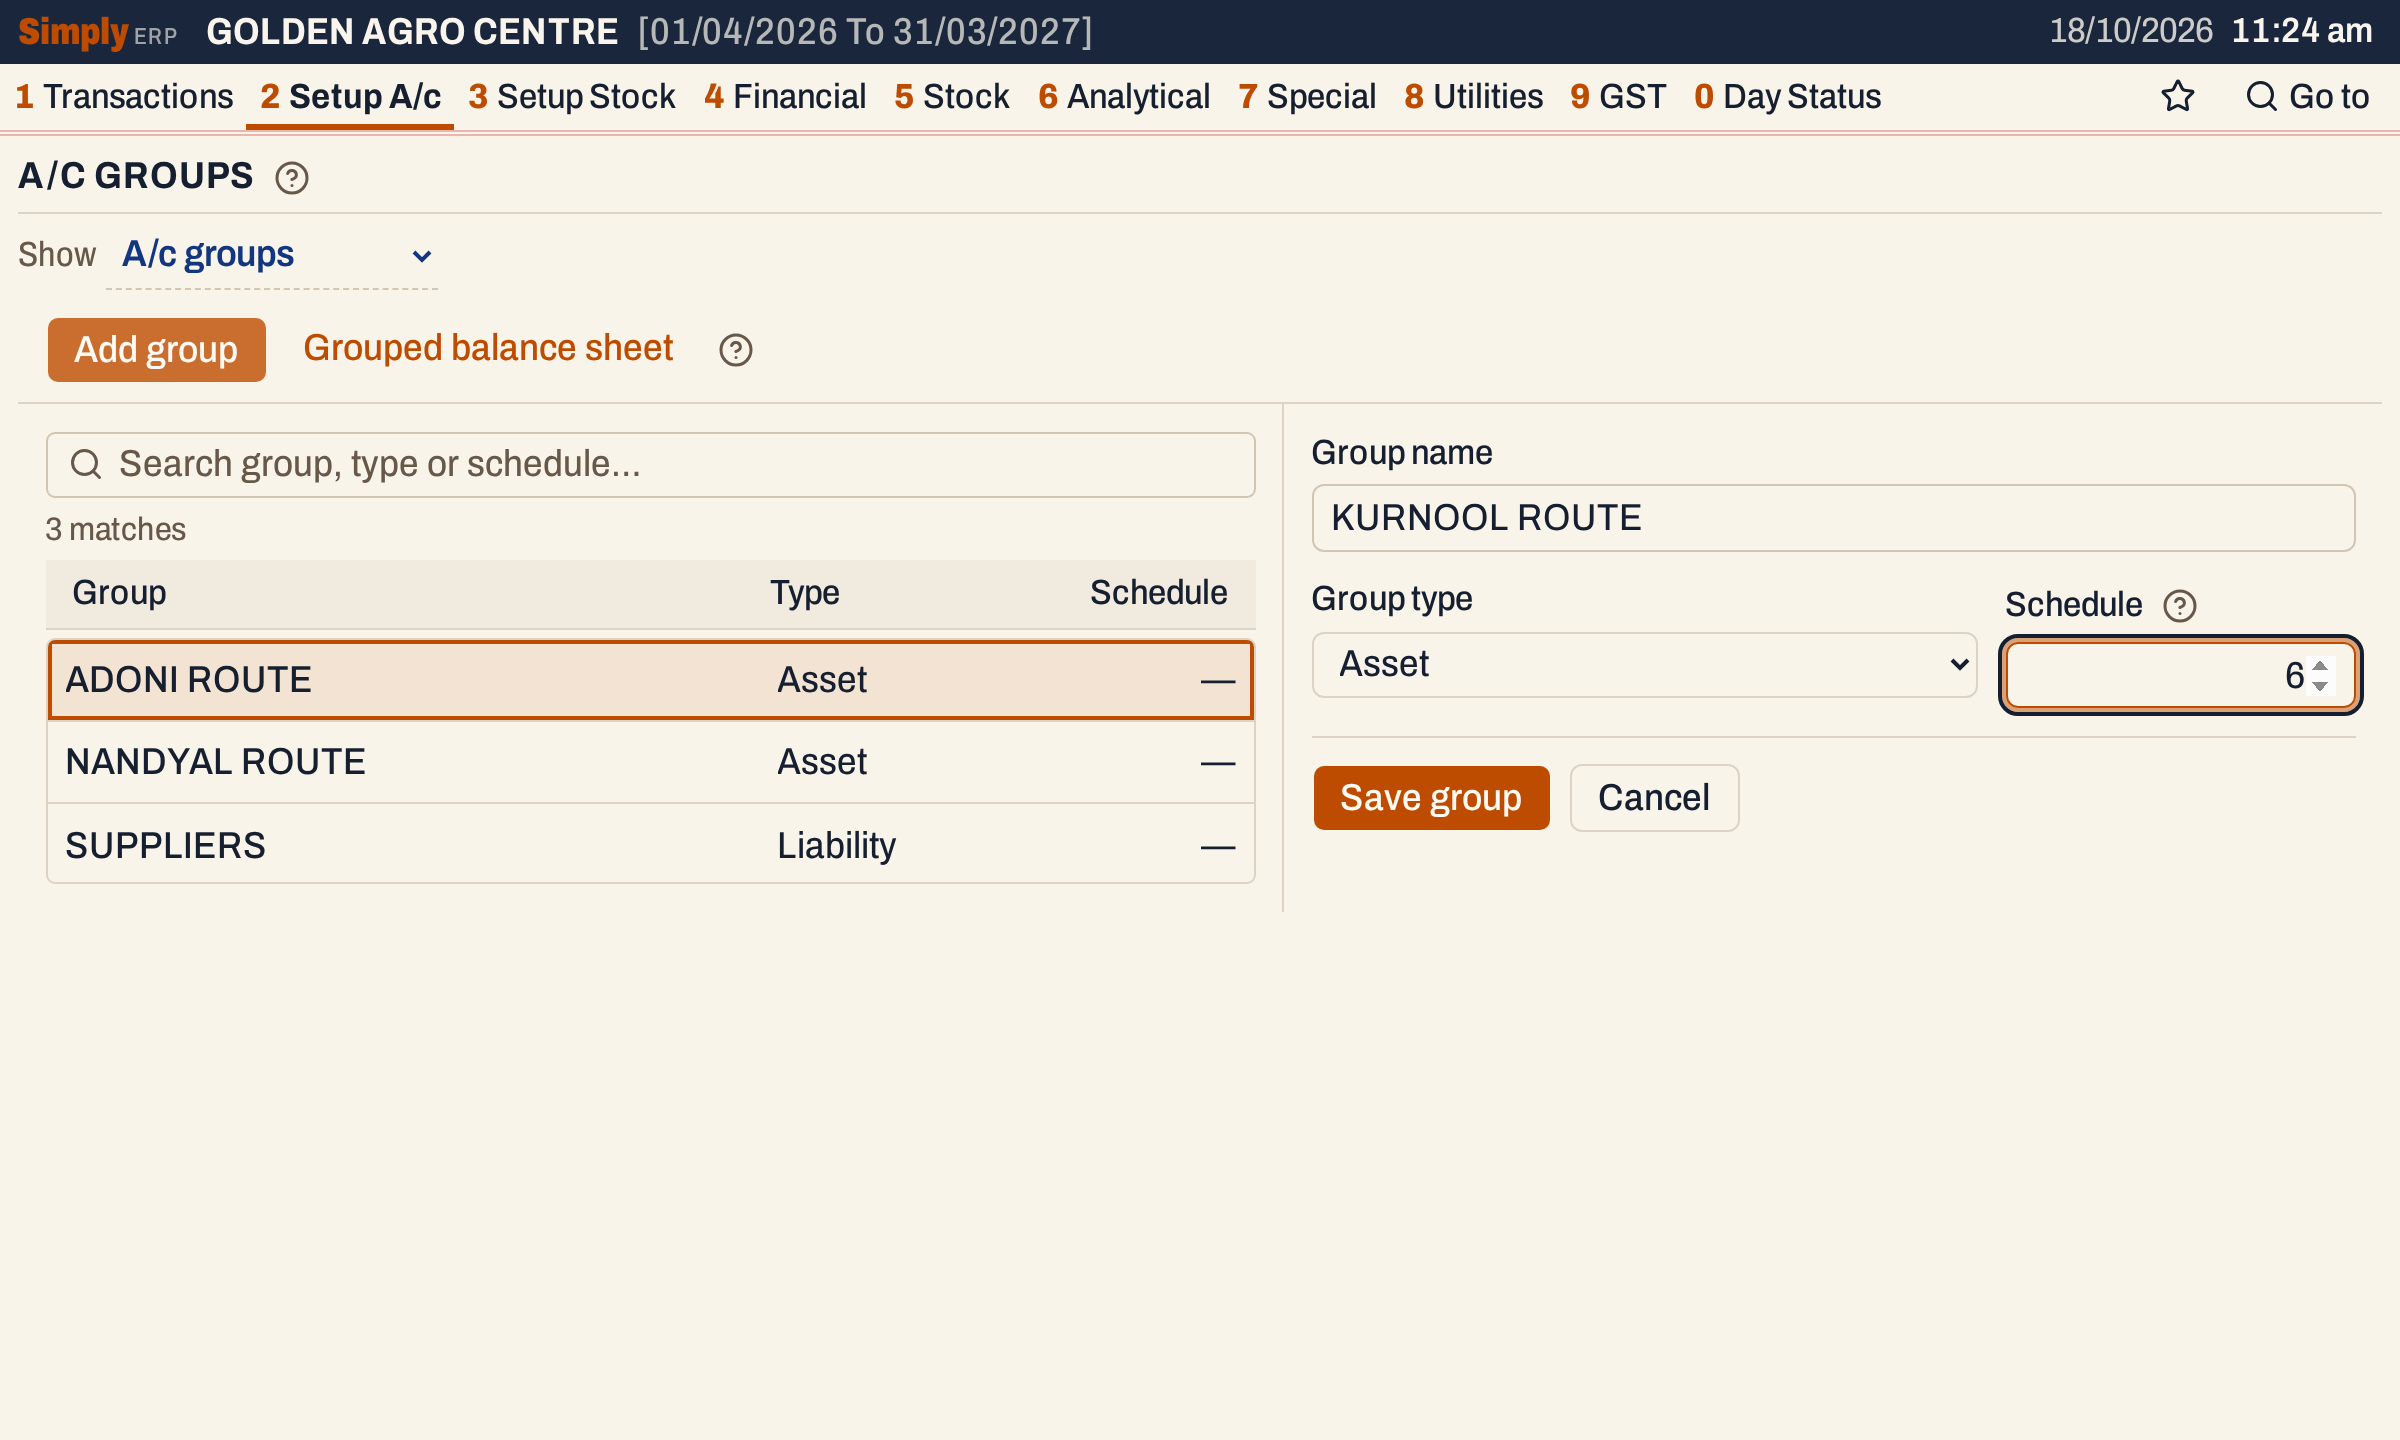 A new group, ready to save.
Press F3 (or click Save group). A notice says “KURNOOL ROUTE saved.” and the group is in the list. To change a group, choose it in the list with the arrow keys and press Enter: the same form opens.
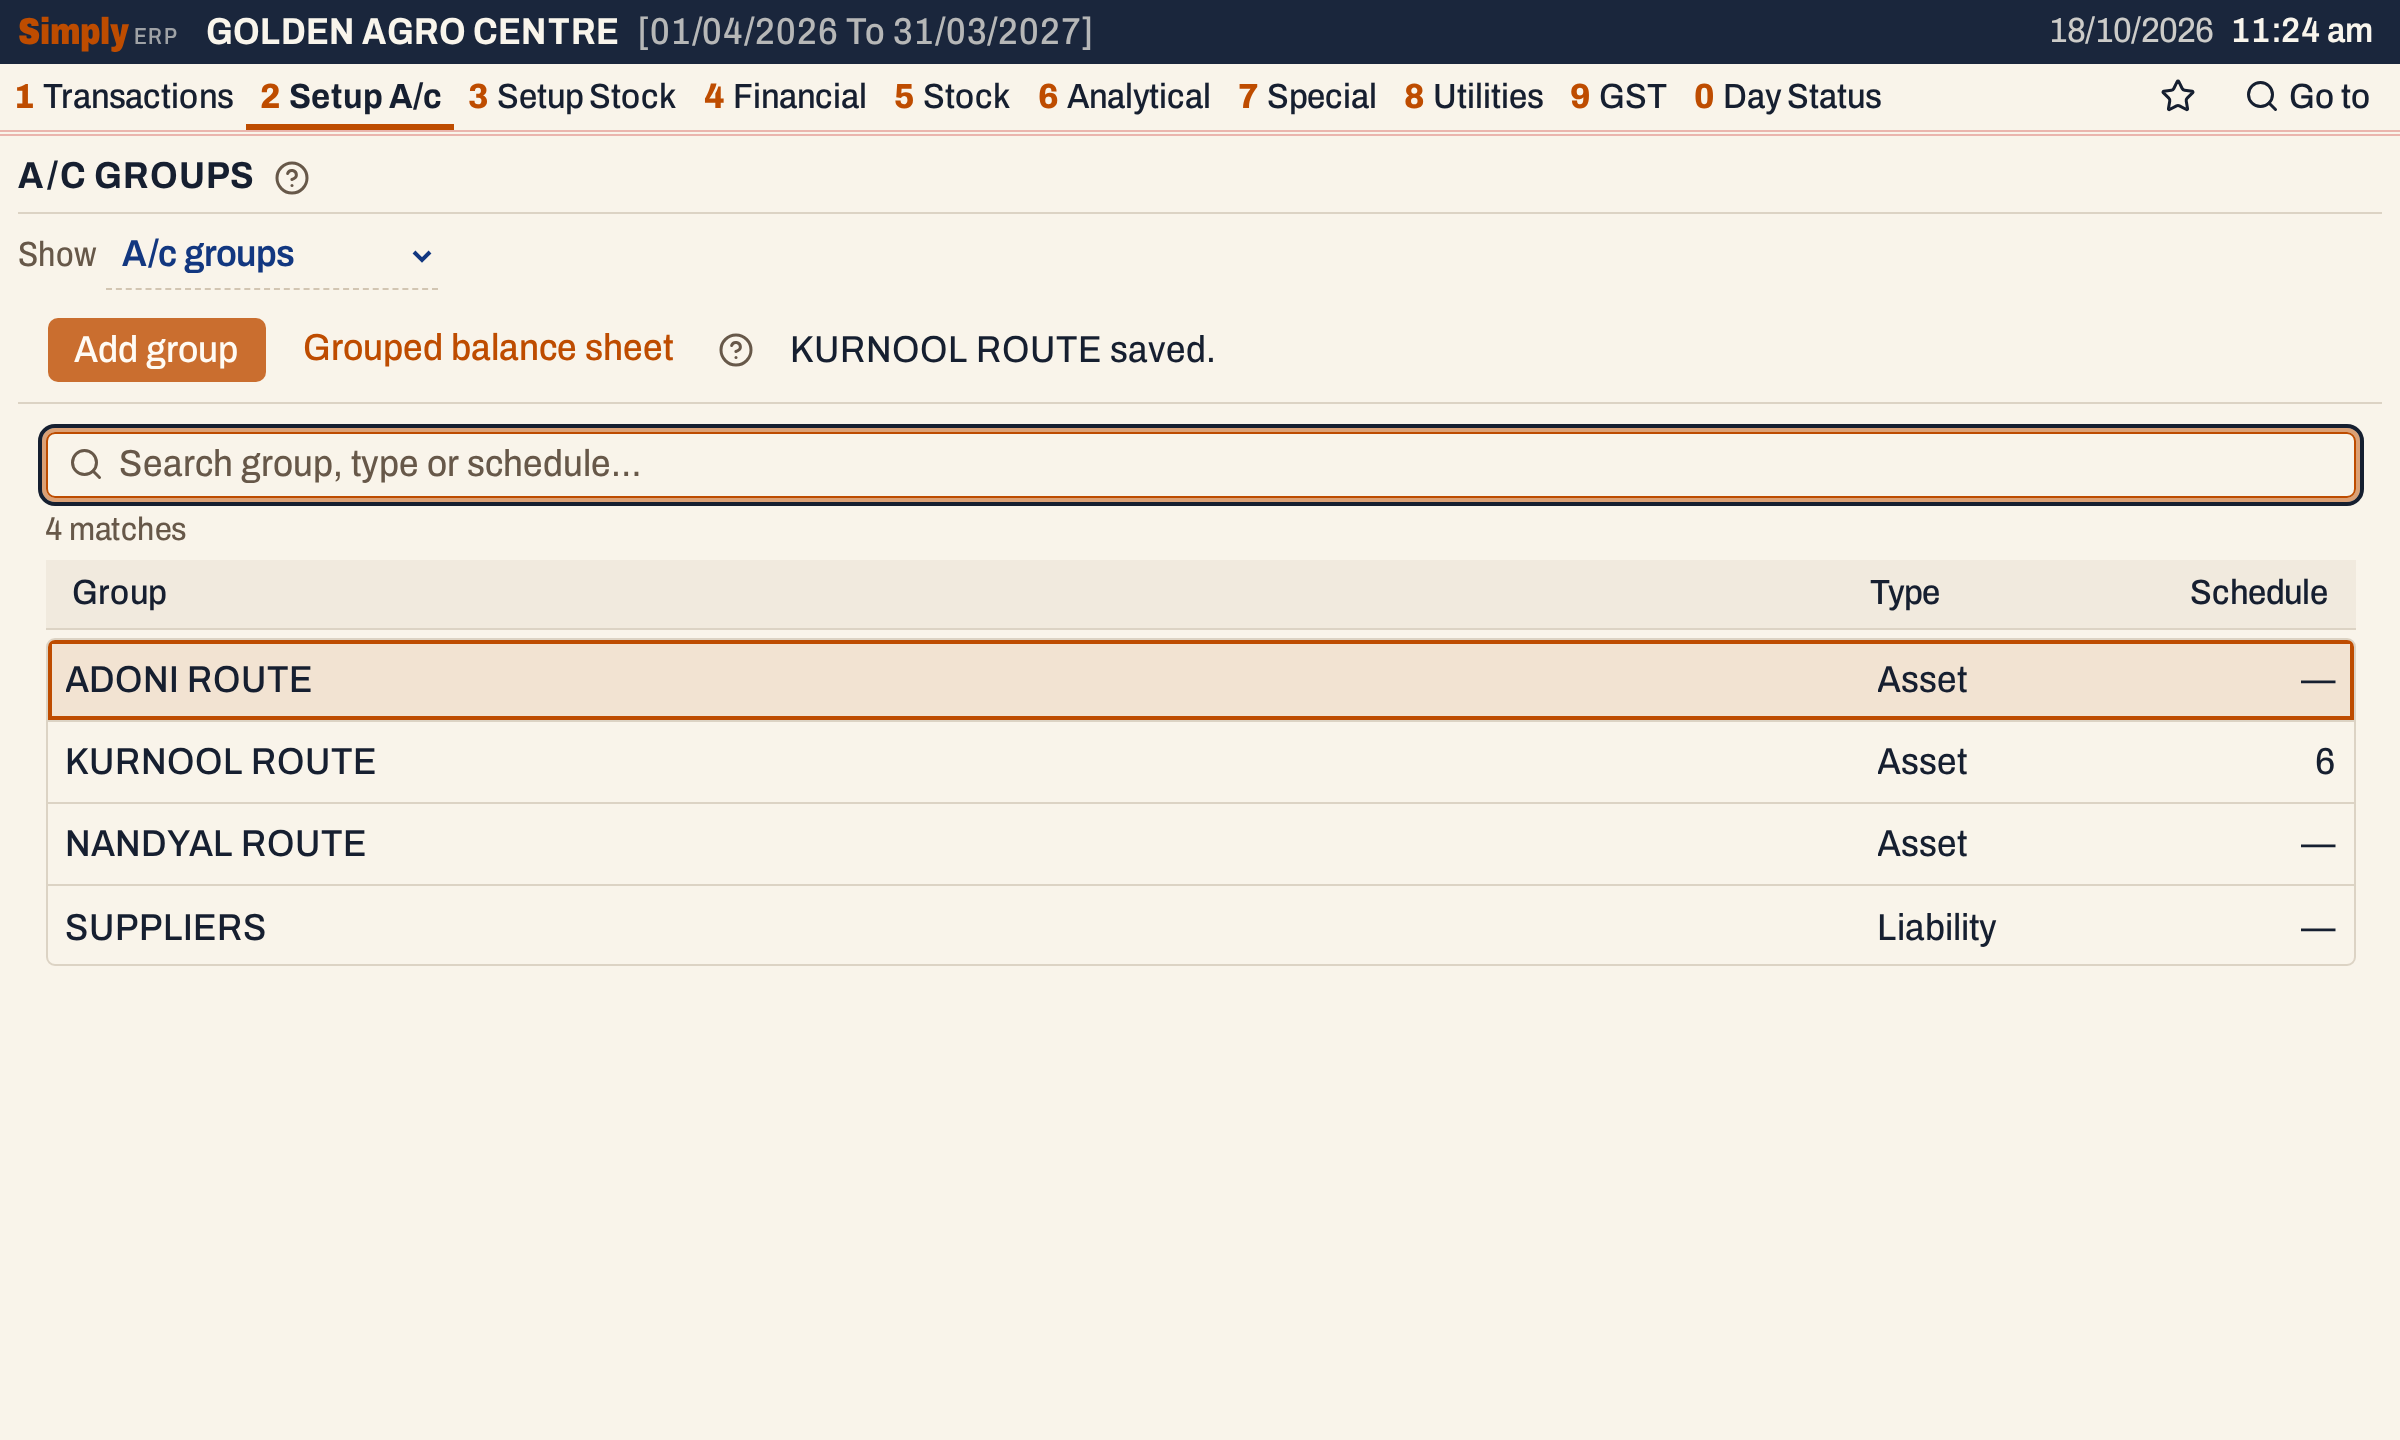 The new group is listed.
Two rules protect the accounts in a group:
- Renaming a group renames it in every account that has it.
- Deleting is only possible for a group with no accounts: choose it, click Delete unused group. A group that is still in use is refused, with a message to reassign those accounts first.
Open A/c Grouping
Press Alt+2 for Setup Accounts, then C for A/c Grouping (Group, Rep., Area).
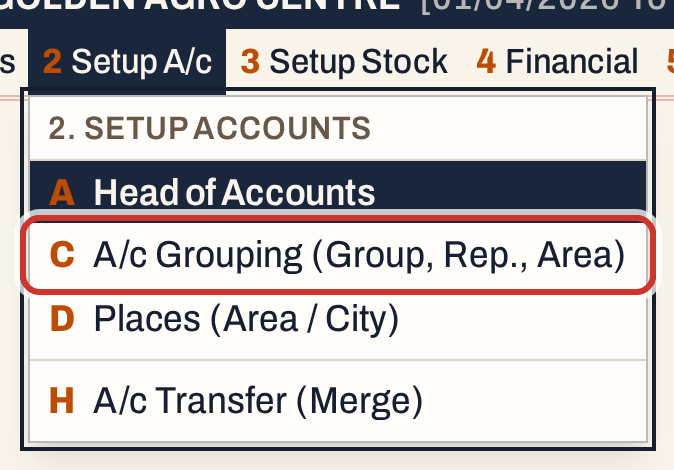 2 C: Setup Accounts, A/c Grouping.
The screen lists every account with its name, city and A/c type, and three columns you can change: Group, Representative and Area. The area of an account that has none is its city.
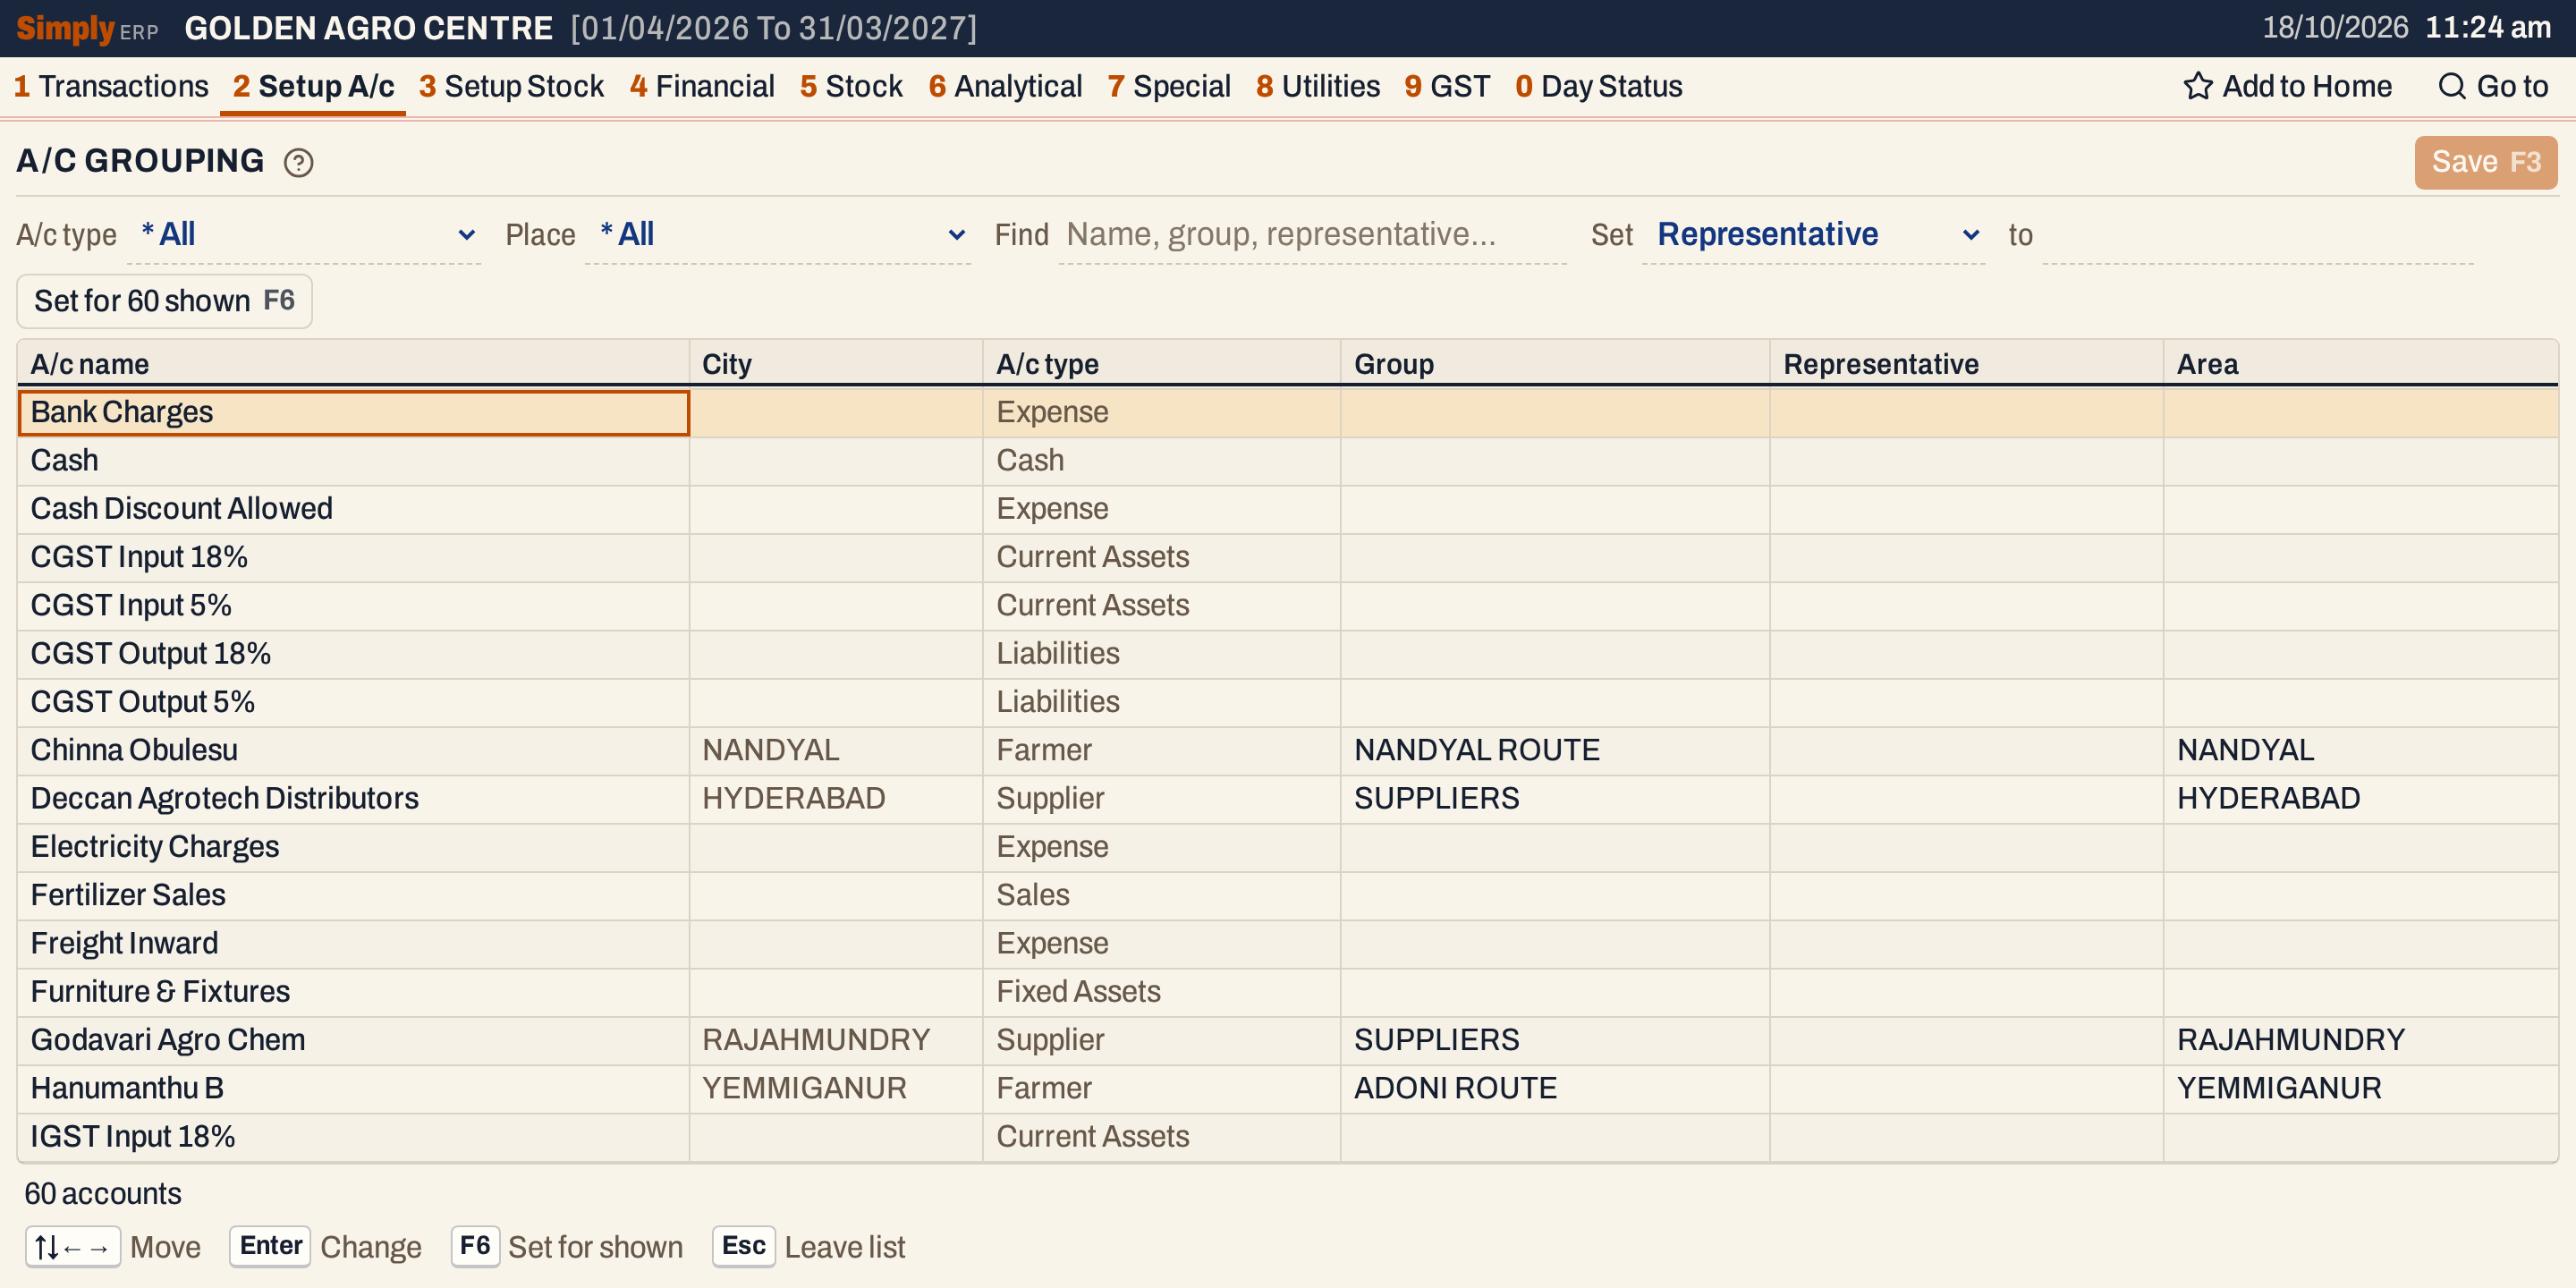 All 60 accounts, as the screen opens. Arrow keys move between the cells.
Choose the accounts to change
Above the list are three choices. Each starts at * All (Find starts empty) and narrows the list to the accounts you want to change:
| Choice | What it shows |
|---|---|
| A/c type | Only the accounts of that type, such as Farmer. The A/c type column is left out while a type is chosen. |
| Place | The accounts whose city or area is that place. |
| Find | The accounts whose name, city, group, representative or area has the words you type. |
Give the same group, representative or area to all of them
The Set line changes one column for every account shown. Set starts on Representative; choose Group, Representative or Area, type the value in to, and press Enter (or F6, or click the button, which says how many accounts it will change). Leave to empty to clear the column; an empty area becomes each account’s city when you save.
A group has to be one of the account groups. You can type just its first letters, in any case: “kurnool r” is enough for KURNOOL ROUTE. If the letters fit more than one group, the screen names some of them and asks for more. A name that is not a group is refused, and the message tells you where to add it.
 A mistyped name is not taken. Nothing changes.
With the right name, the accounts shown take the group.
 Nothing is saved yet. Changed cells are highlighted until you save or discard.
Change one account
To change a single cell, move to it with the arrow keys and type: the new text replaces the old. (Enter on a cell opens it for editing with its text kept.) While you type, Enter keeps the text and moves on, and Esc drops it. Group takes the same first letters as above. A representative and an area are kept in capitals, and an area left empty is the account’s city again.
 The representative typed in one cell.
Save
Press F3 (or click Save). Every changed account is saved together, or none is if one fails. The status line says how many accounts were saved. Discard throws away the changes you have not saved.
 Saved.
Where the groups show
In Head of Accounts the Group column, and a Representative column once any account has one, show the changes. The same groups can be chosen in the Account group field of an account (see Add an account and Change an account).
 The list with its Group and Representative columns.
The reports then use them:
- The Balance Sheet (Grouped) lists the balance sheet accounts that are in a group and have a balance, group by group, in the order of the groups’ schedule numbers. An account without a group is left out of it.
- The outstanding statement by account group lists the accounts that are in a group, group by group. An account without a group is not in it.
- The outstanding statement by representative lists the customers that have a representative, under each representative and then by area.
- The sales register and the purchase register show and filter by Area, and the list of customers can be narrowed to areas.
Keys on these screens
| Key | What it does |
|---|---|
| ↑ ↓ ← → | Move between the cells |
| Typing | Replace the text of the cell |
| Enter | On a cell, edit it; while typing, keep the text and move on |
| Esc | Drop the change in the cell |
| F6 | Set the chosen column for every account shown |
| F3 | Save every change |
On the A/c Groups list, Enter opens the group under the cursor and F3 saves it.
Updated 4 November 2026.